Week-15
Prototype-1
Prototyping
For the prototype, I decided to work on one part of the whole narrative. Becasue my objective for this prototype was to see the clarity of my visuals and work on how I can make an interactive publication/book.
First thing I did was decide on the content. I decided there will be three booklet/publication for user-testing: A user manual, A context booklet and the prototype publication
Context:
1. ‘Interactive Narration’ while establishing different modes
of narration, portray the myths and legends, revolving around
the foundation and development of the city of Ahmedabad in the
state of Gujarat, India. The city is located on the banks of a
river - Sabarmati river.
2. The city of Ahmedabad is named after its founder - Sultan
Ahmed Shah. ‘Sultan’ is also another word for a ‘ruler’ or a
‘king’. The legend had it that In the year 1411, Sultan Ahmed
Shah was hunting near the banks of Sabarmati river. While
settling to rest he witnessed a hare chasing a dog. Intrigued
by the sight, he thought the land to be a blessed spot and
decided to develop the land into a city.
3. (Image of page 1) As Sultan Ahmed Shah gave the land an
identity he began developing it into a city by building a
fort. During the development he would encounter something
strange. The fort that his workers constructed during the day
would collapse at night and the next day they would have to
start again.
4. (Image of Page 2) The incident kept repeating until one day
Ahmed Shah discovered that there was a powerful yogi named
‘Maneknath’ who would knit a blanket during the day parallel
to the construction of the fort and unravel the blanket at
night, which would cause the fort to collapse.
For the prototype booklet I had decided to just have visual presentation. I could put all the context in one book but I wanted to see how it works with just-visuals but I understand that without context it could be hard to interpret the narrative or even the activity taking place on the prototype, once interacted with. Hence I had decided to print it separately. I also wanted to make a user manual to explain how to interact with the prototype.
Making Visuals
I was actually quite conscious about the visual style because I wanted the visuals to be solid and clean and didn't want to have too much layers to look at. So I had decided to base the visual for the first part of the narrative - 'the construction of the fort'

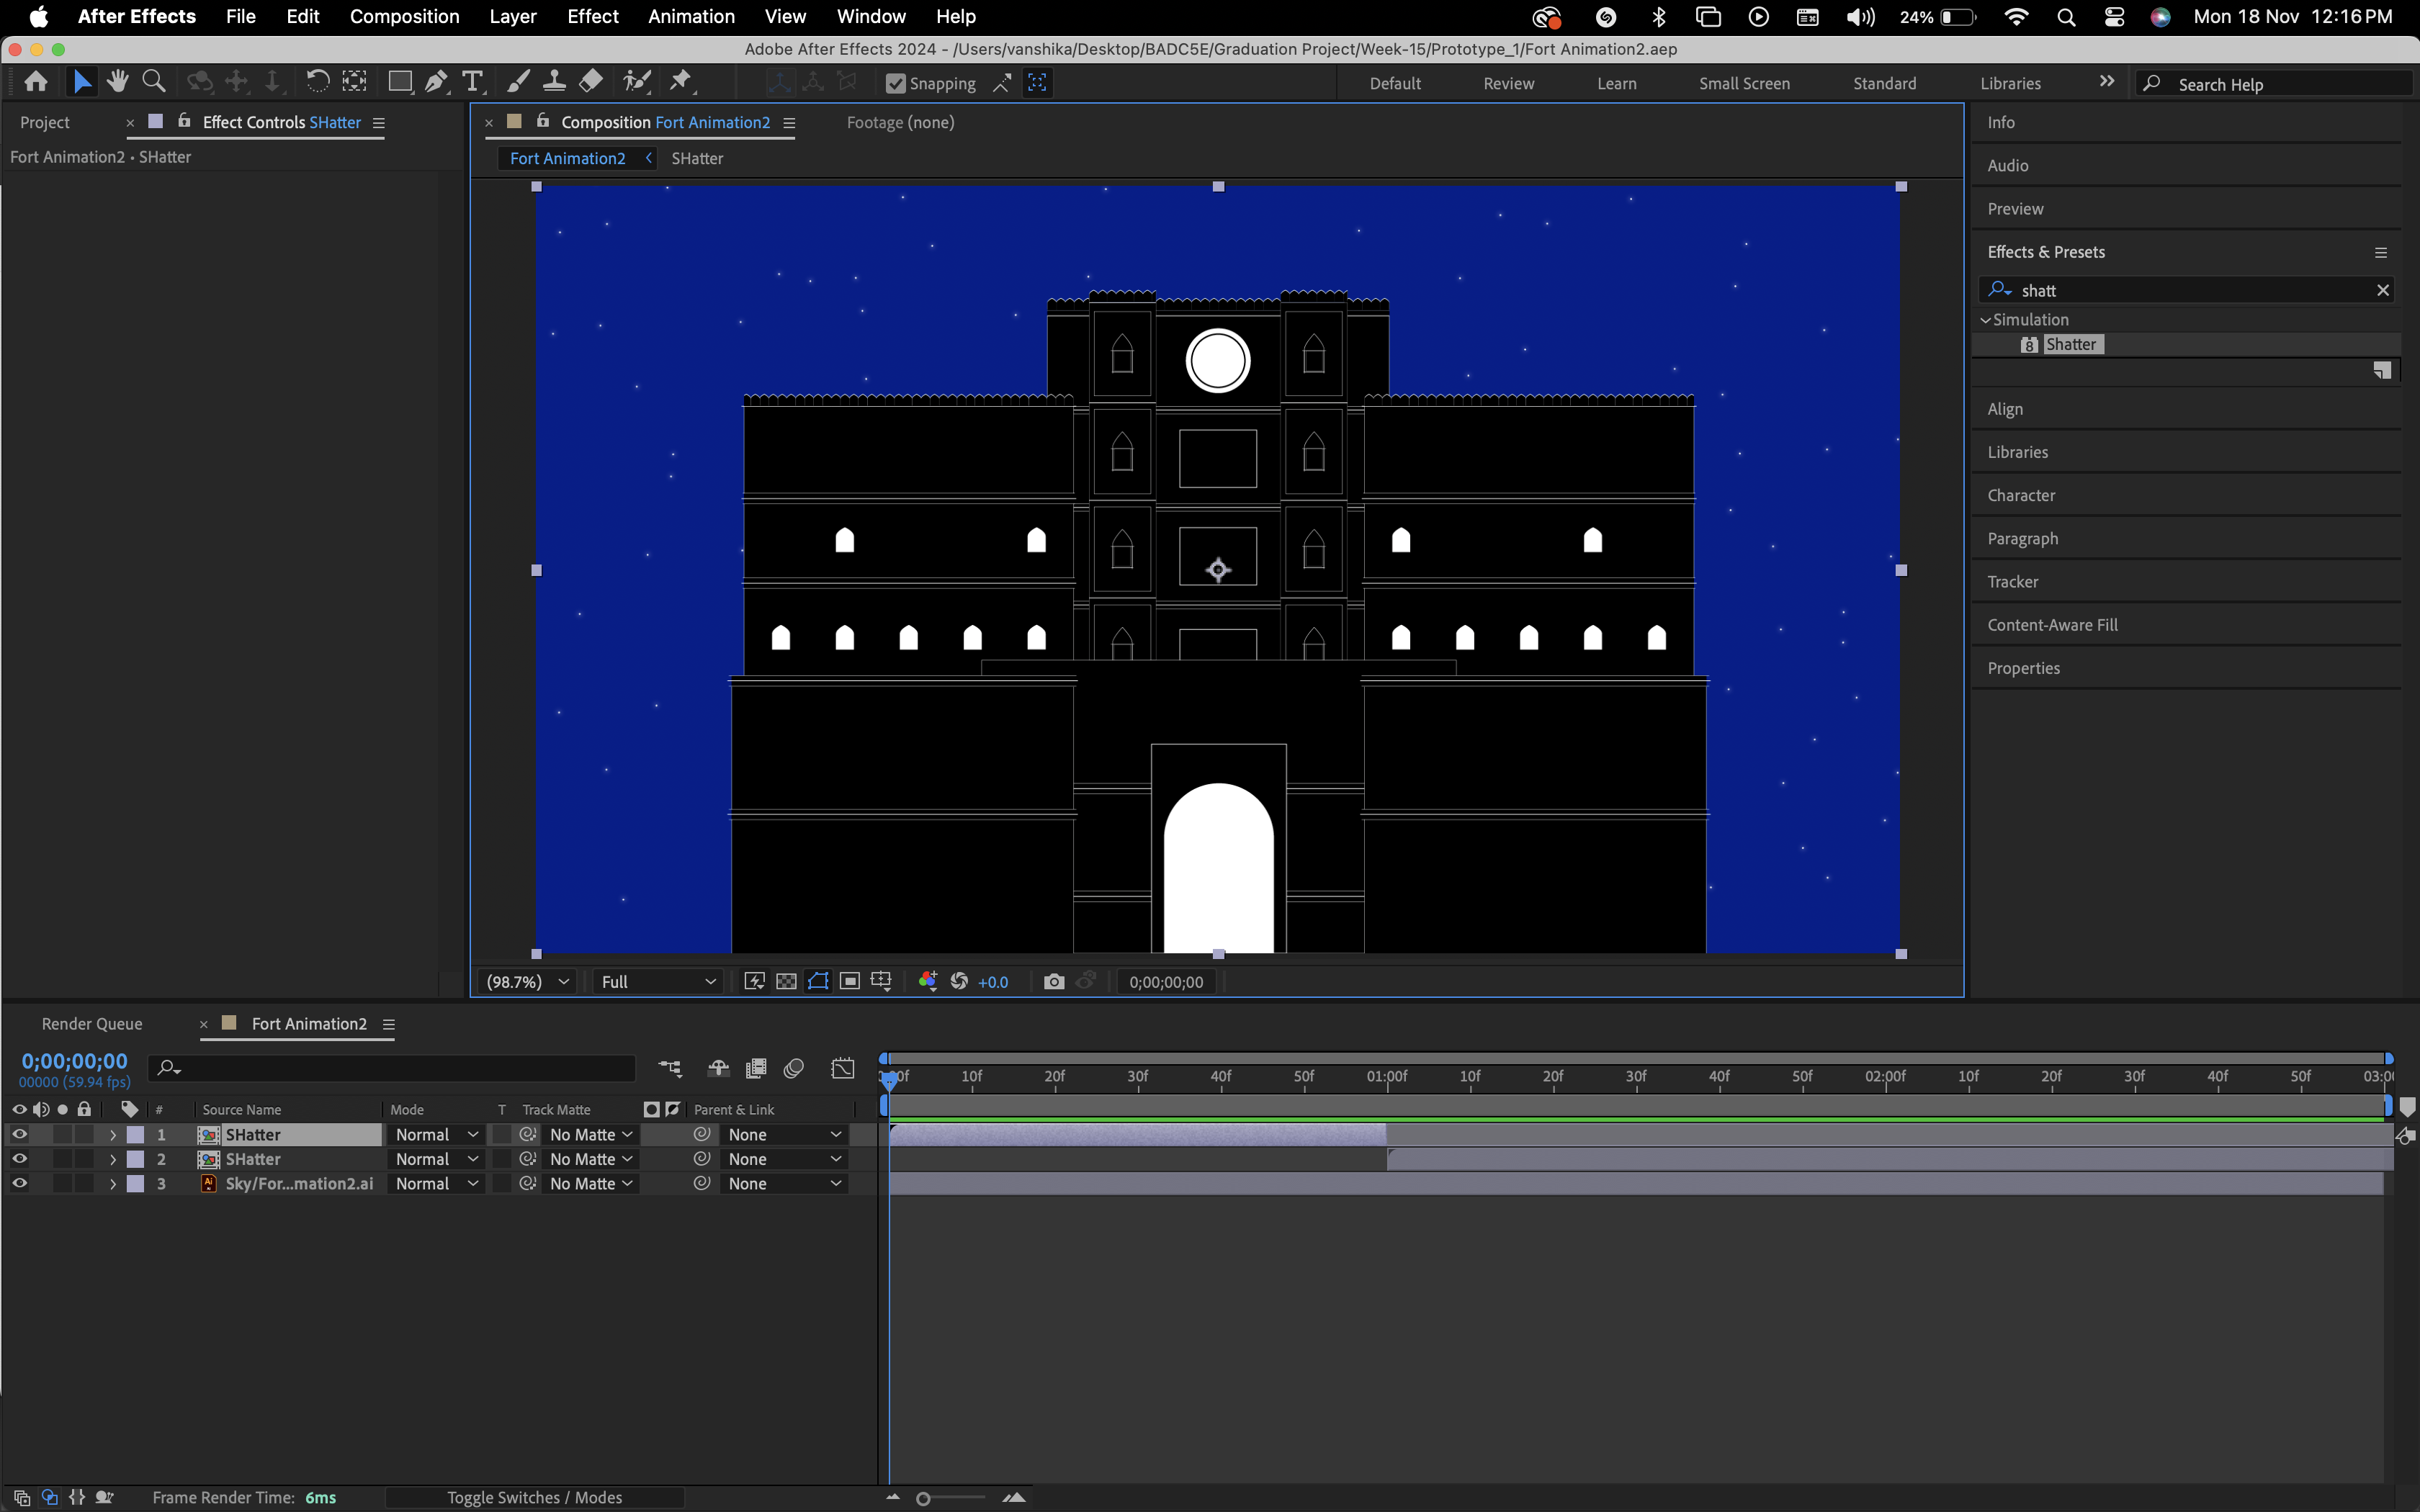
Page-1
The first page was just gonna be paper interactivity. While thinking about how I could craft it, came across this youtube tutorial, which I thought could be an interesting and a simple way to show moving visuals. Instead of draiwng guides on a paper I just made them on illustrator and got it printed. I printed front and back according to how I wanted the visuals to be there. But printing front and back was not working out so well as it interfered with the alignment. But I still finished crafting it so that I could also text the placement of the image, the fuctionality... the size of the visual was too small. THe visible frame turned out to be just 7cm by 7cm. I looked for another youtube tutorial so that I can explore with a bigger size.

One the second try I printed it on the paper I wanted all my work to be printed on - Maple White. And I had increased the visual frame in the craft to be 10cm by 10cm.
Page-2
For the second page I had to portray someone meditating and the page next to it would have strings placed together looking like a cloth. One string from that, would reach out to the silhouette of a person meditating to show that he is doing something to the blanket.
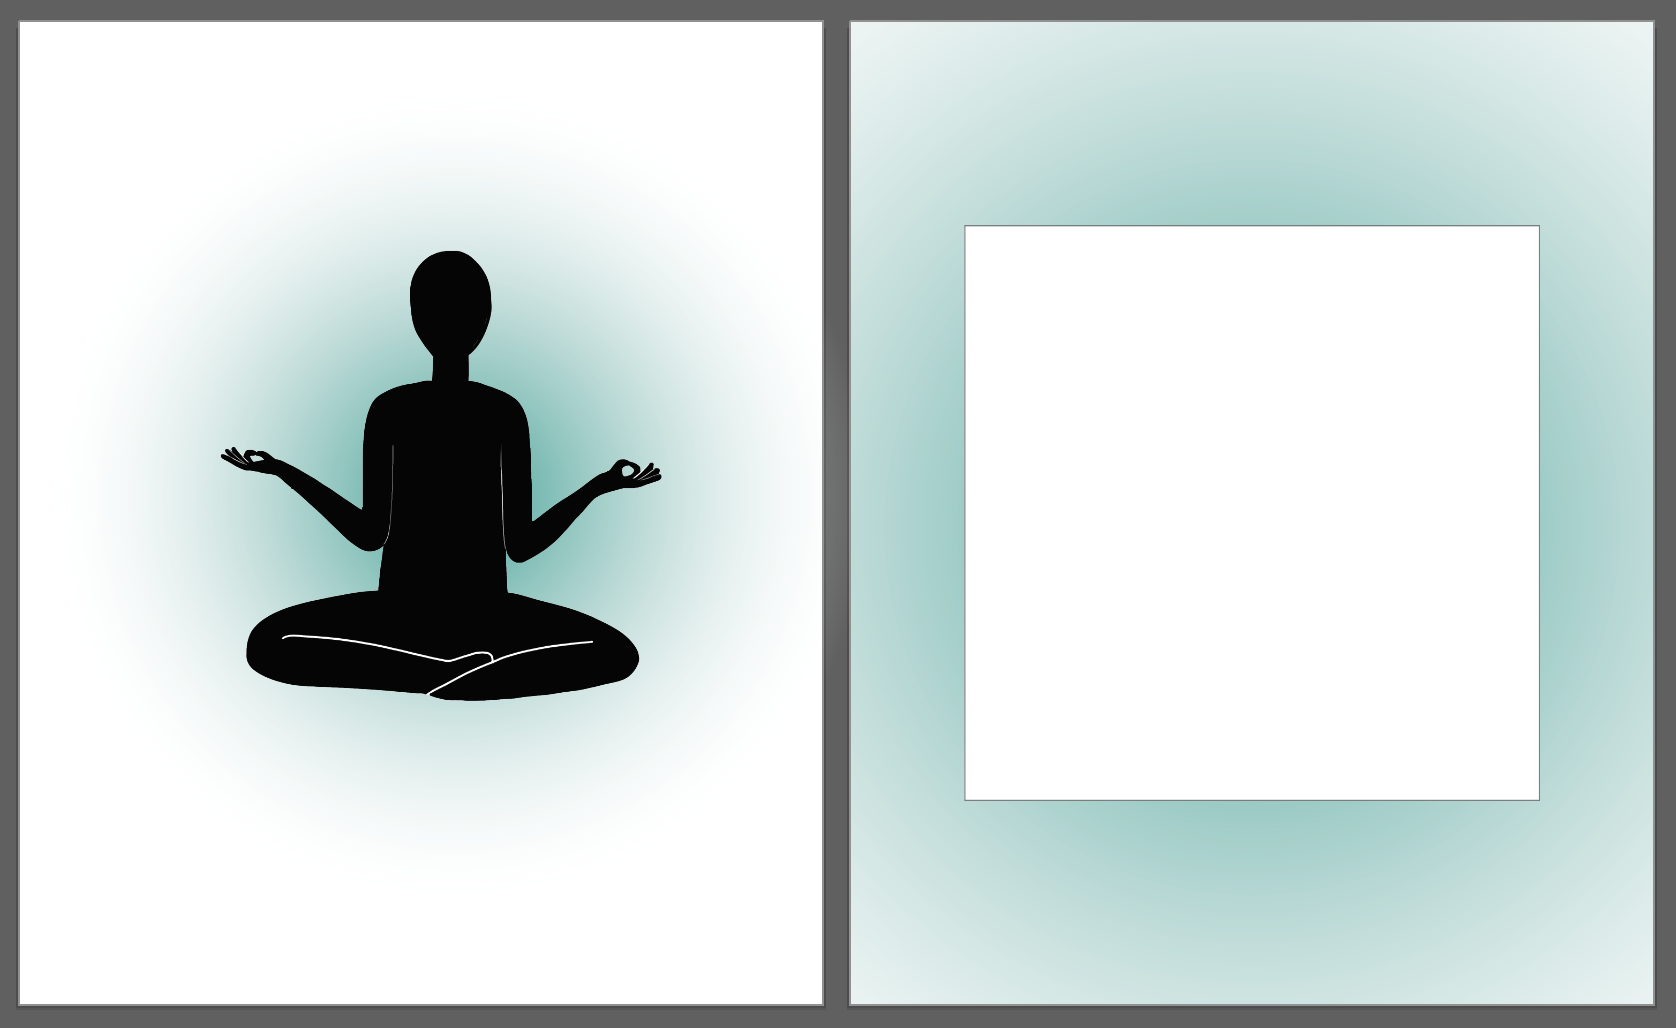
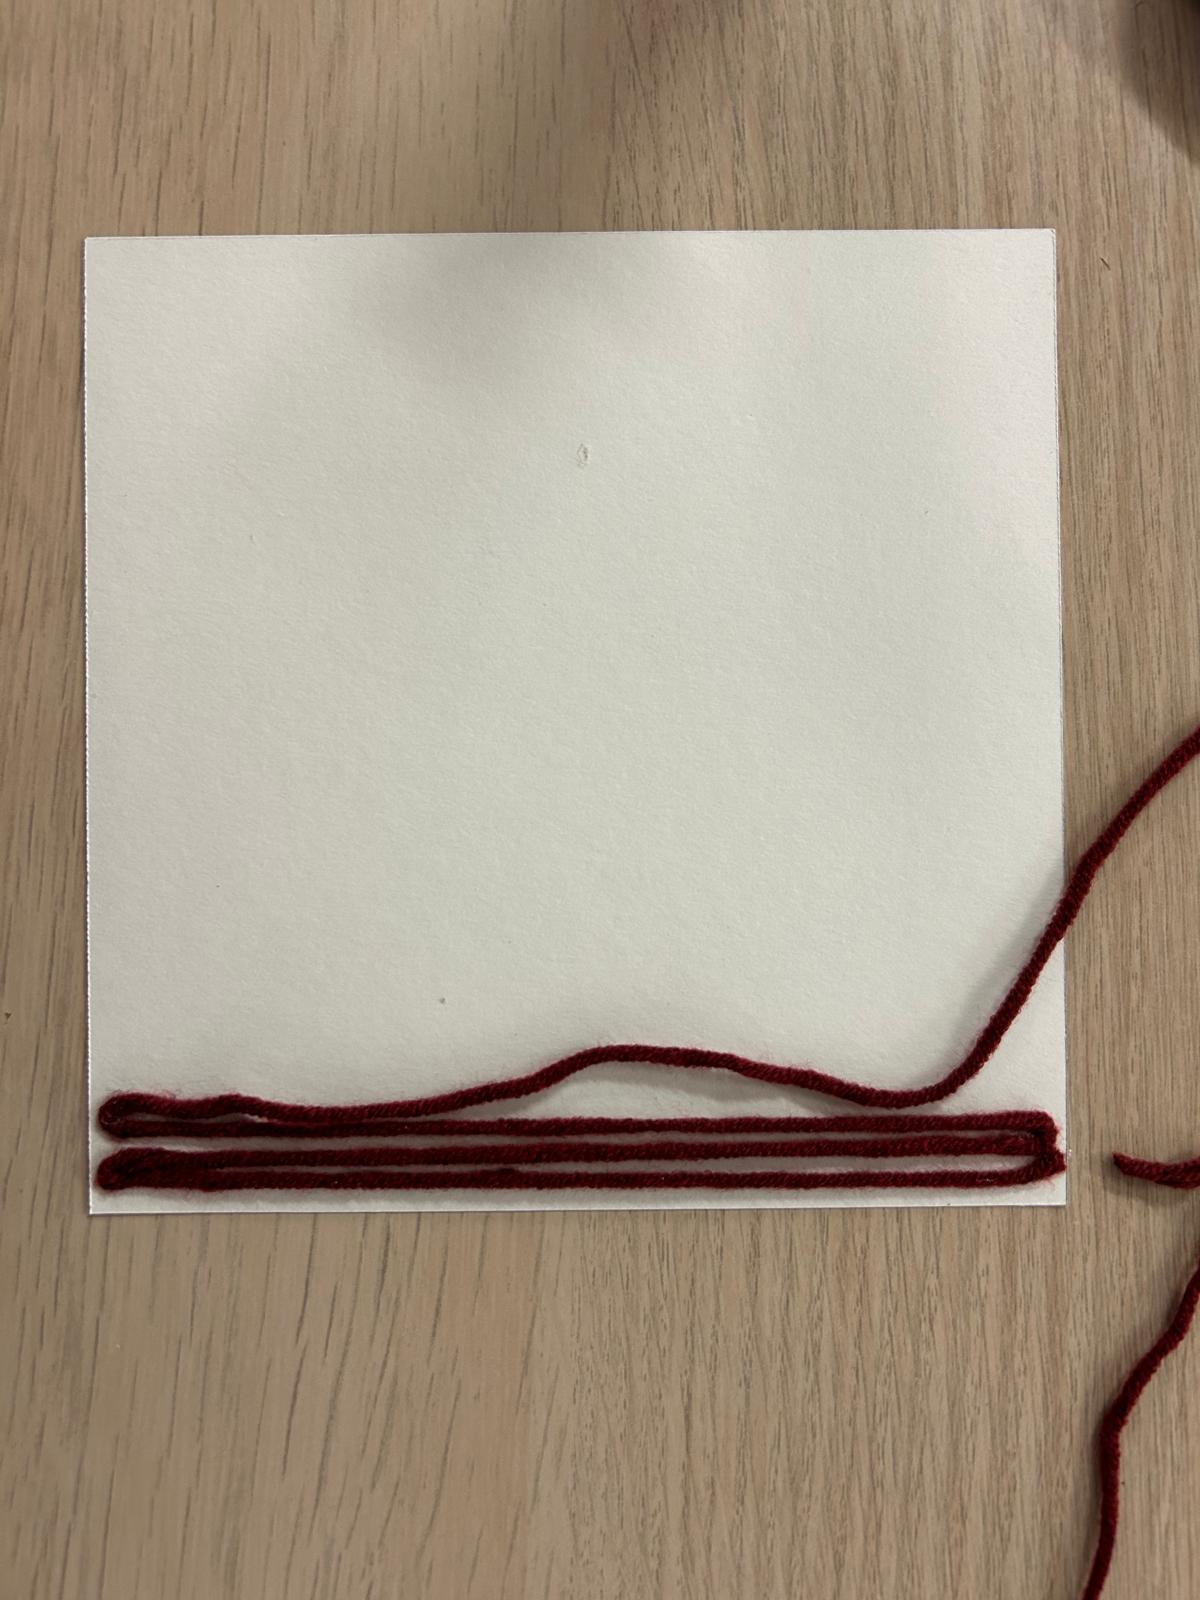
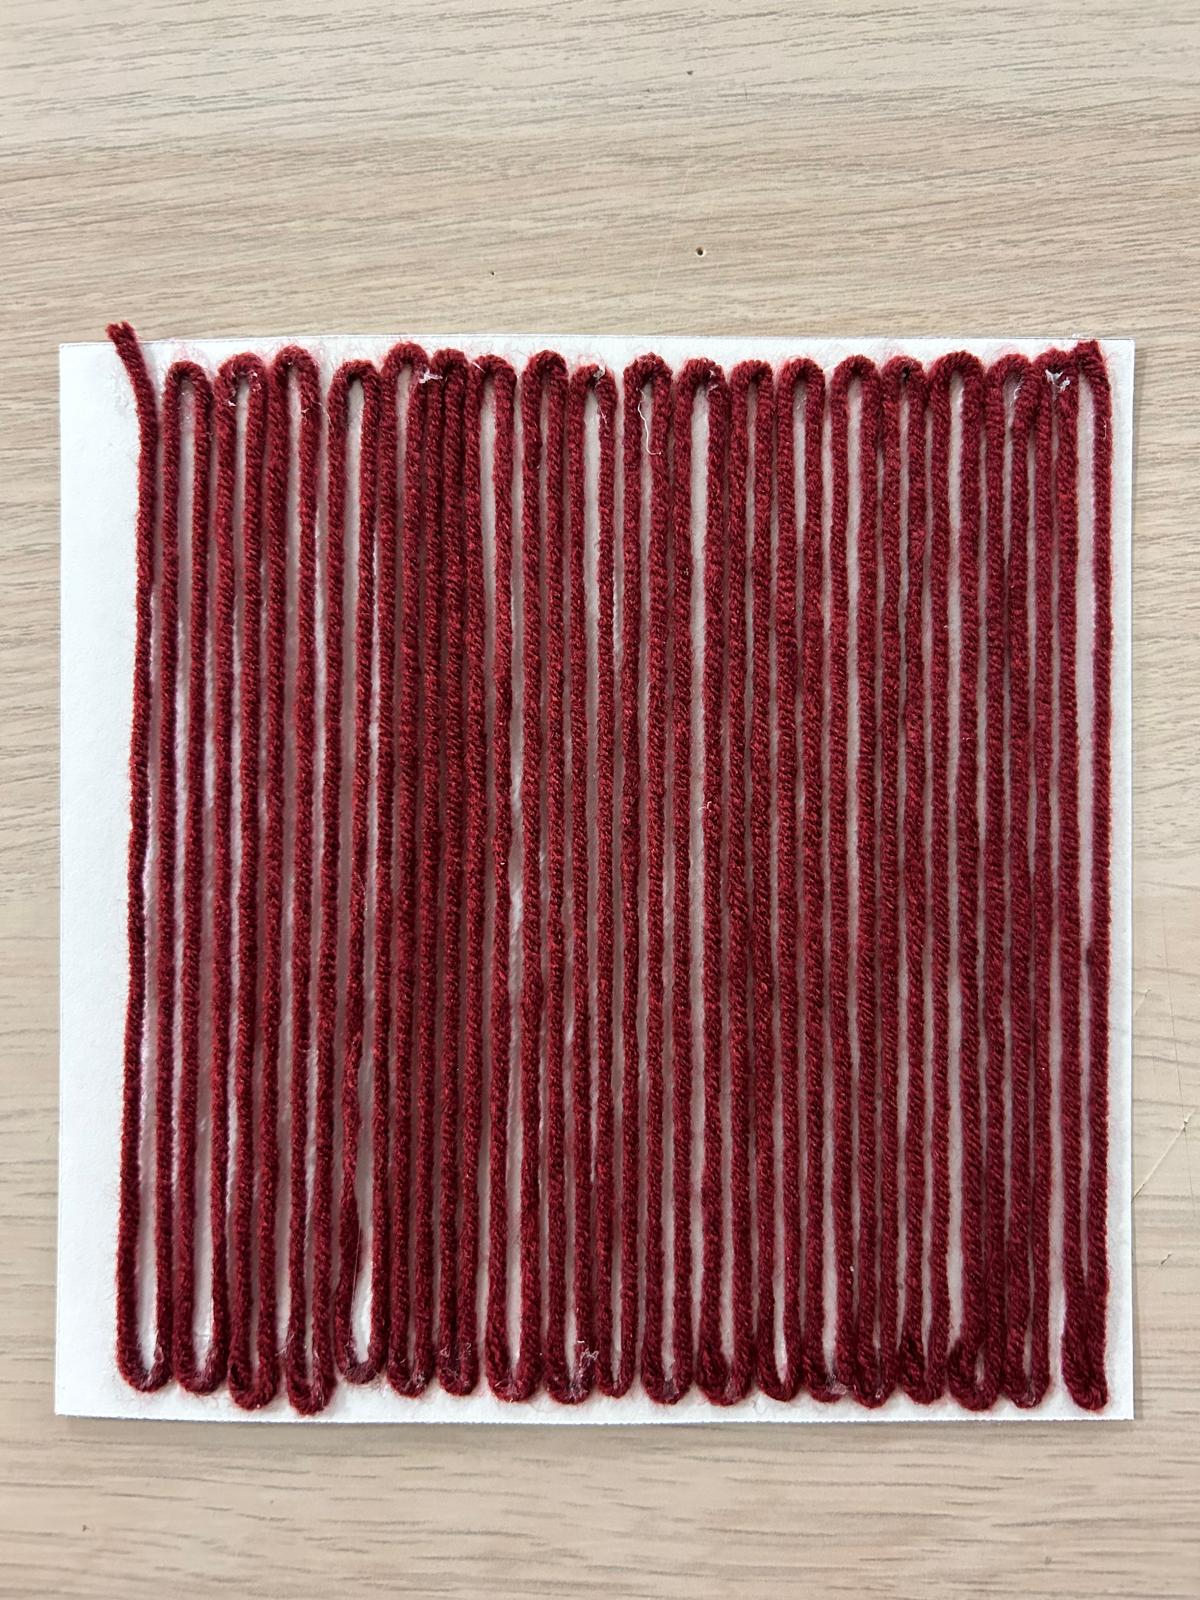
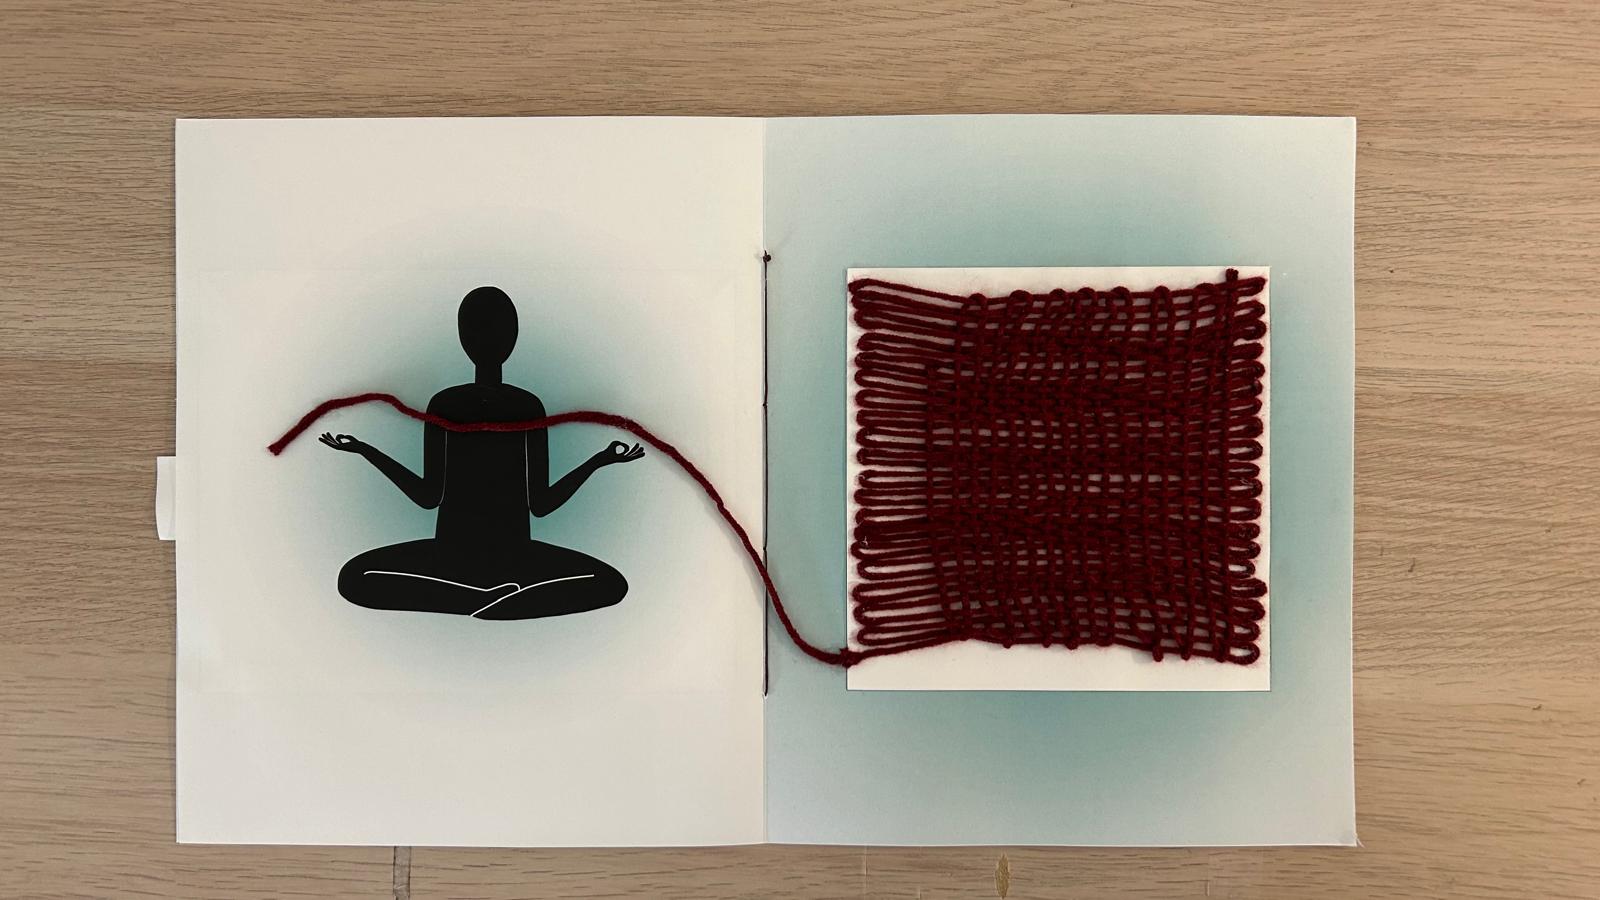
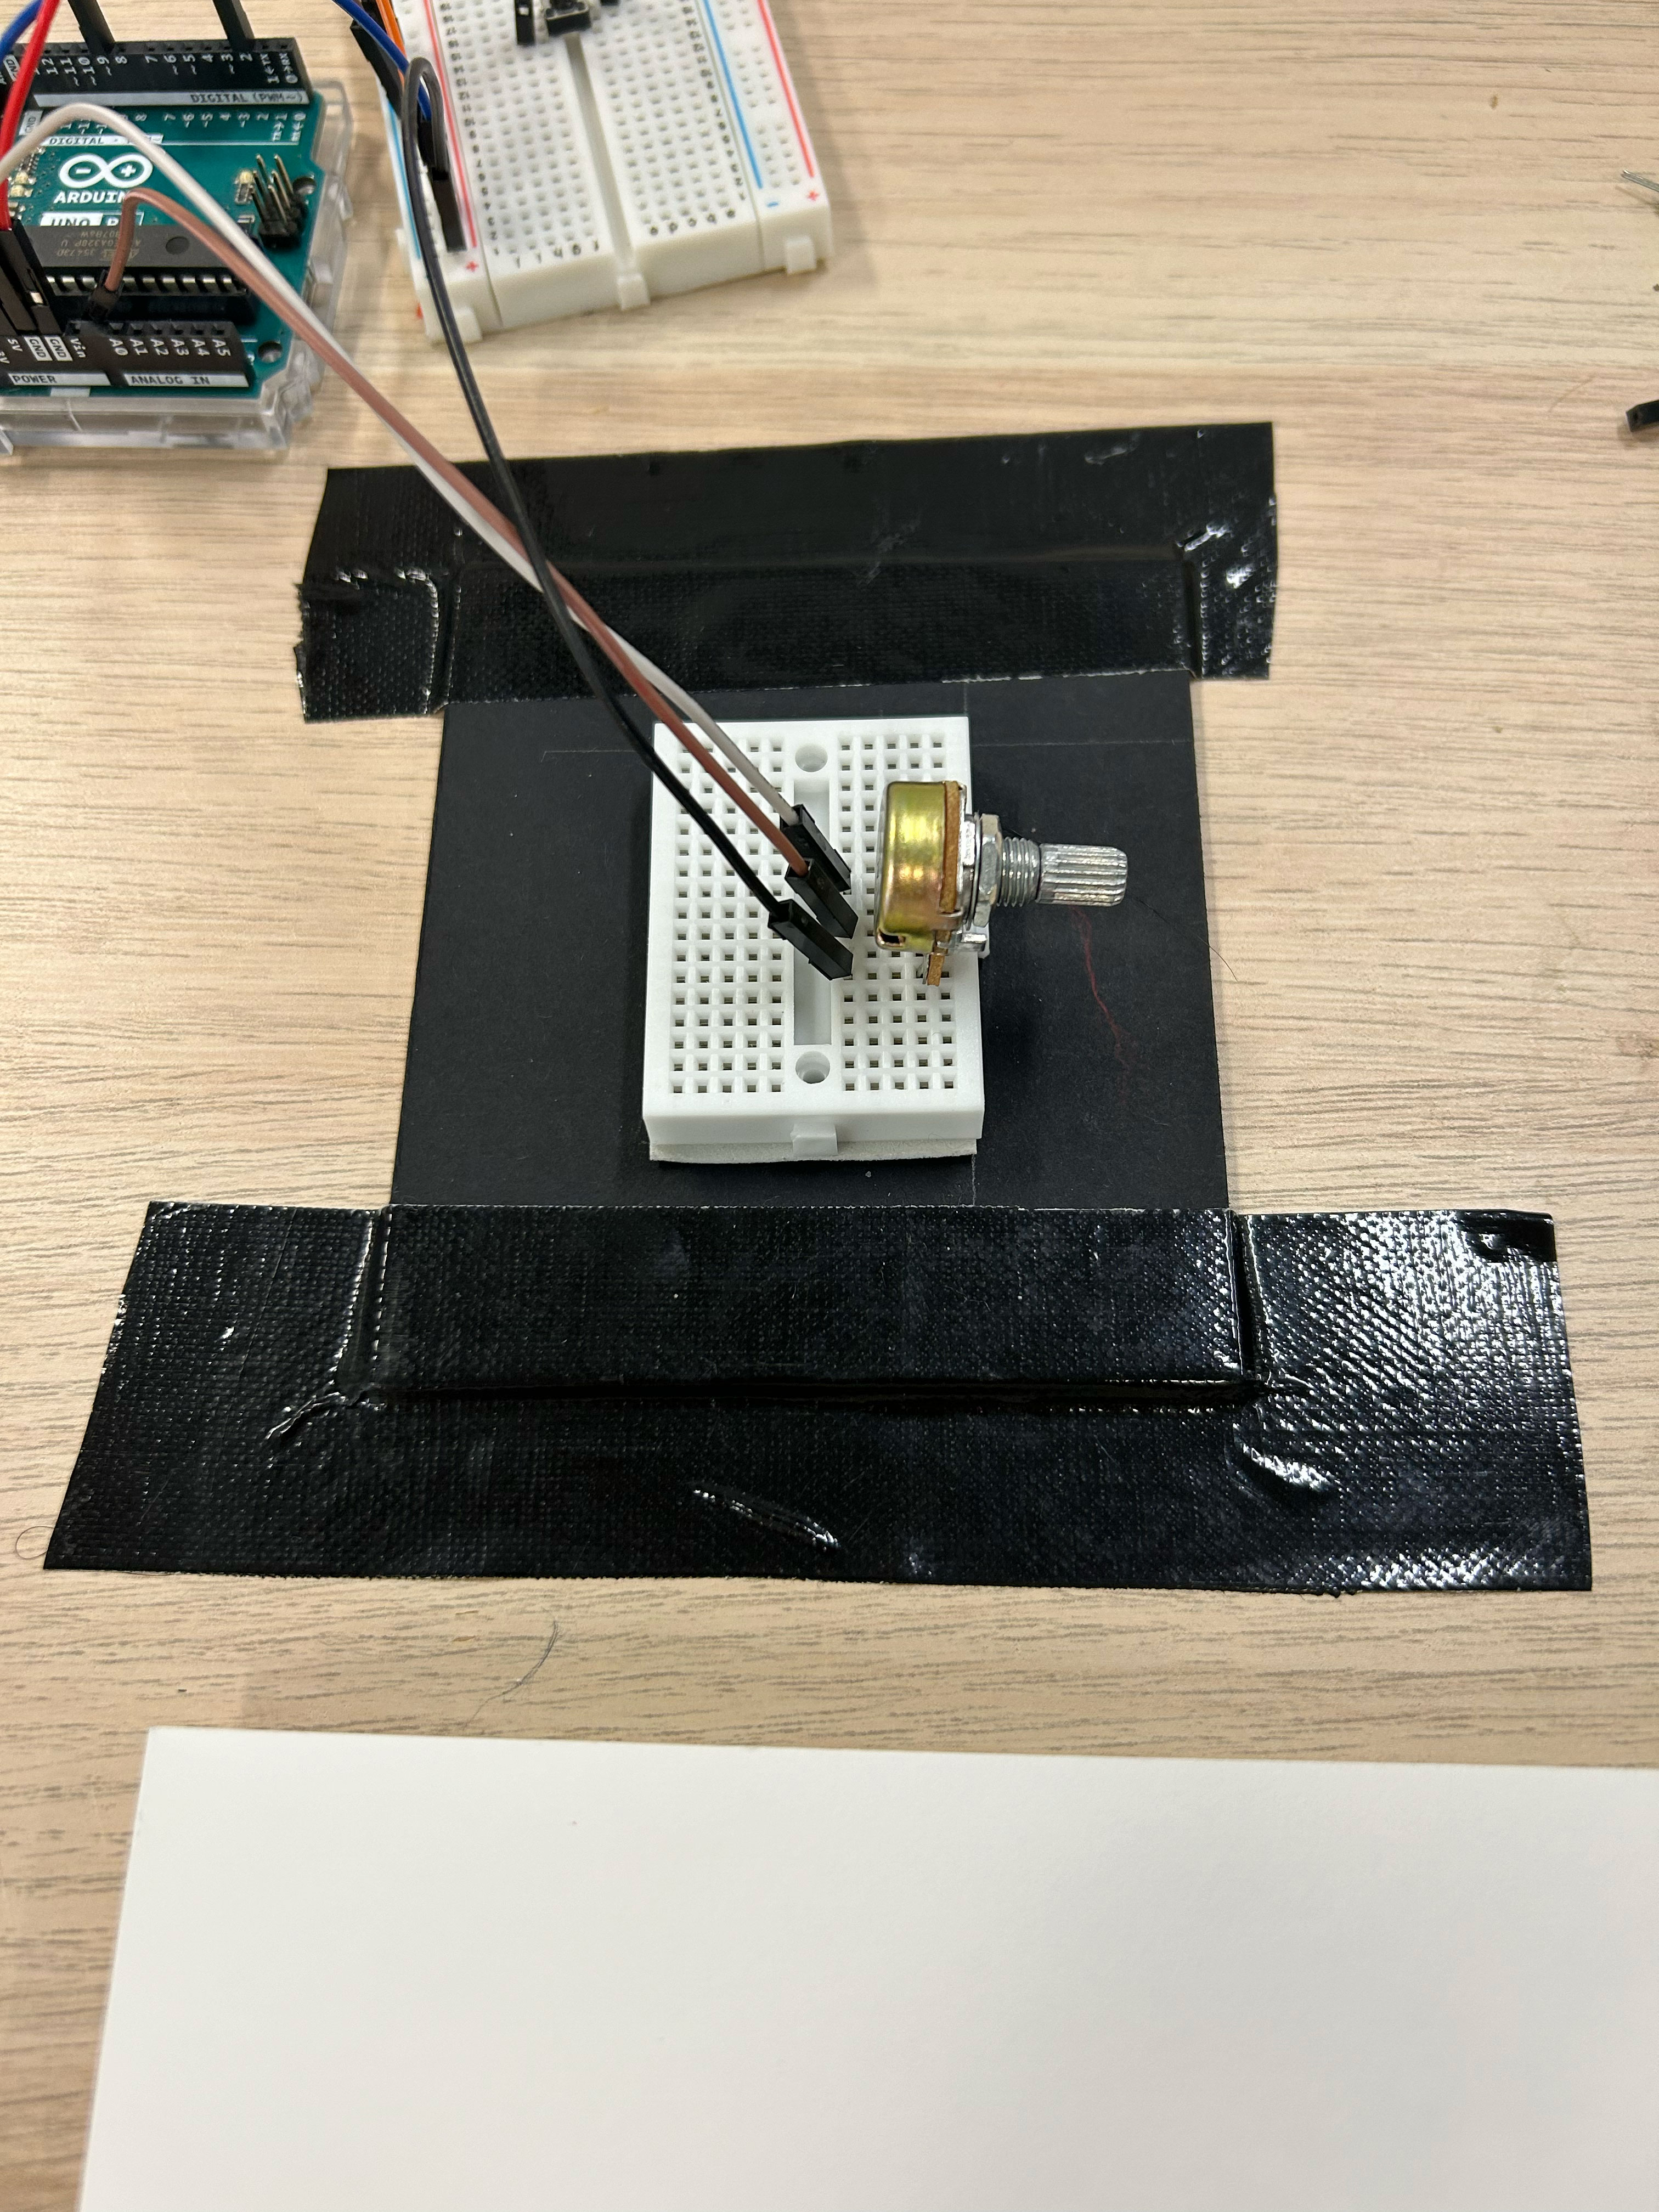
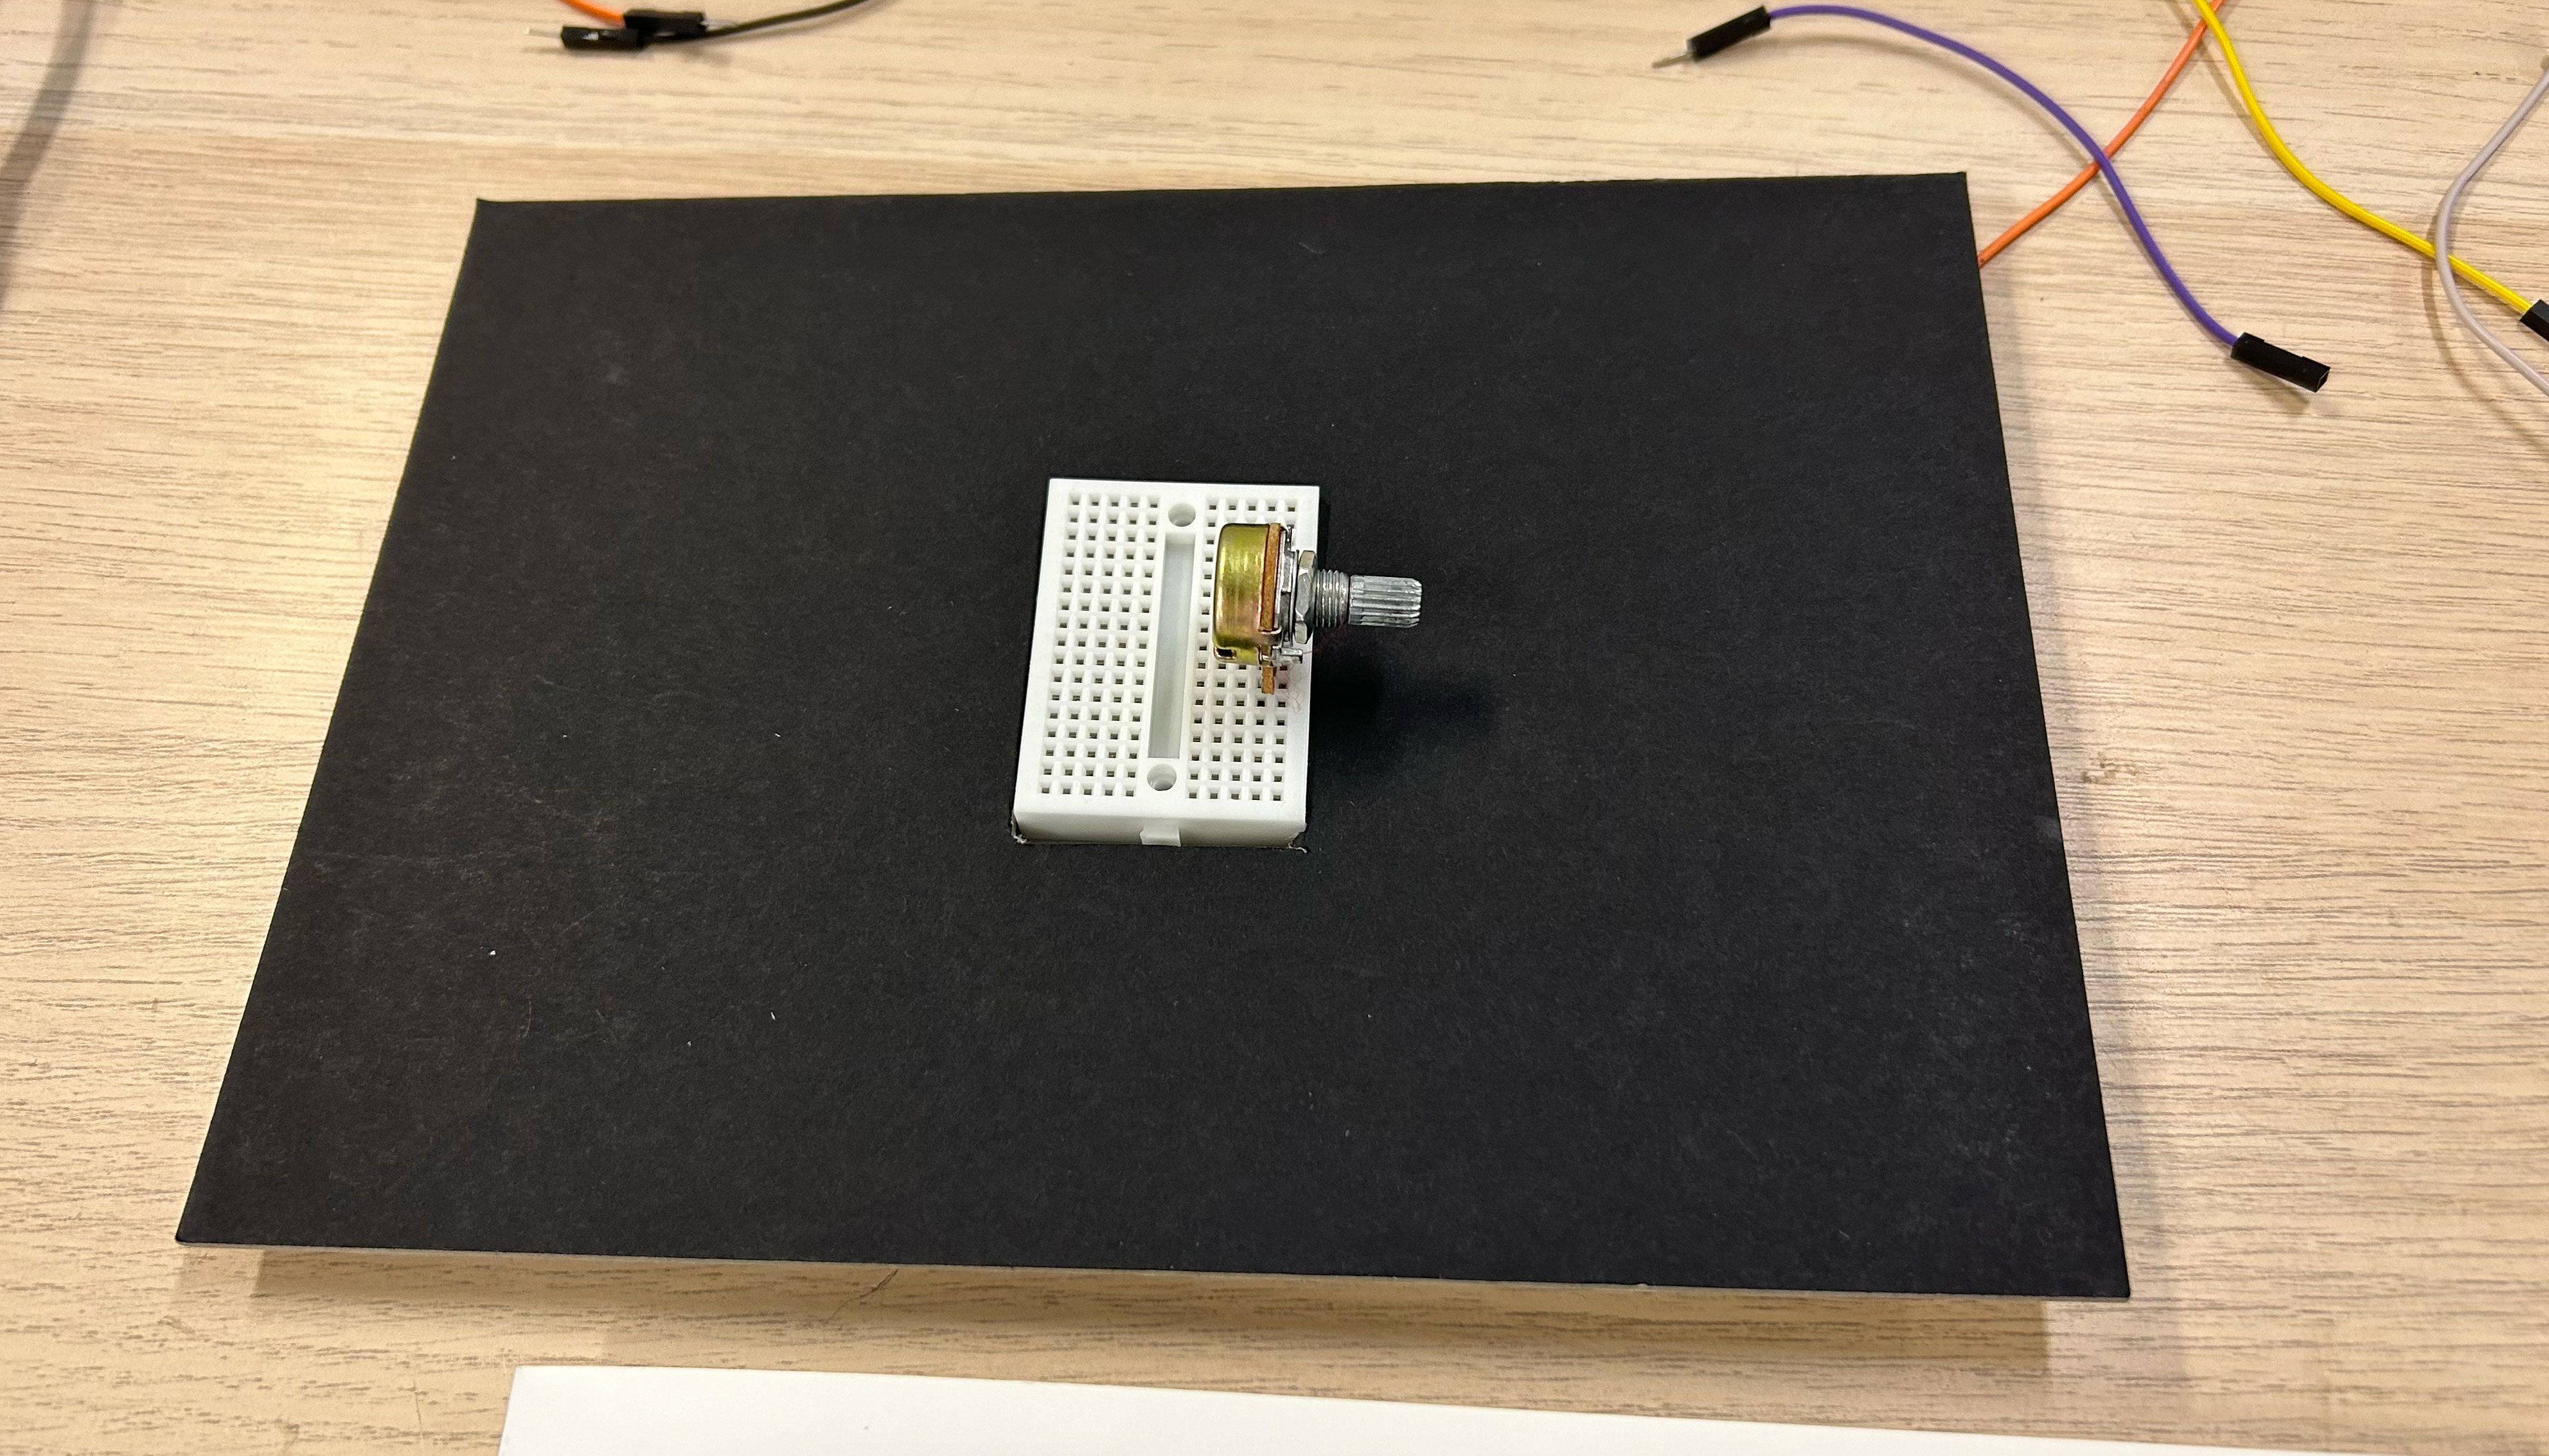
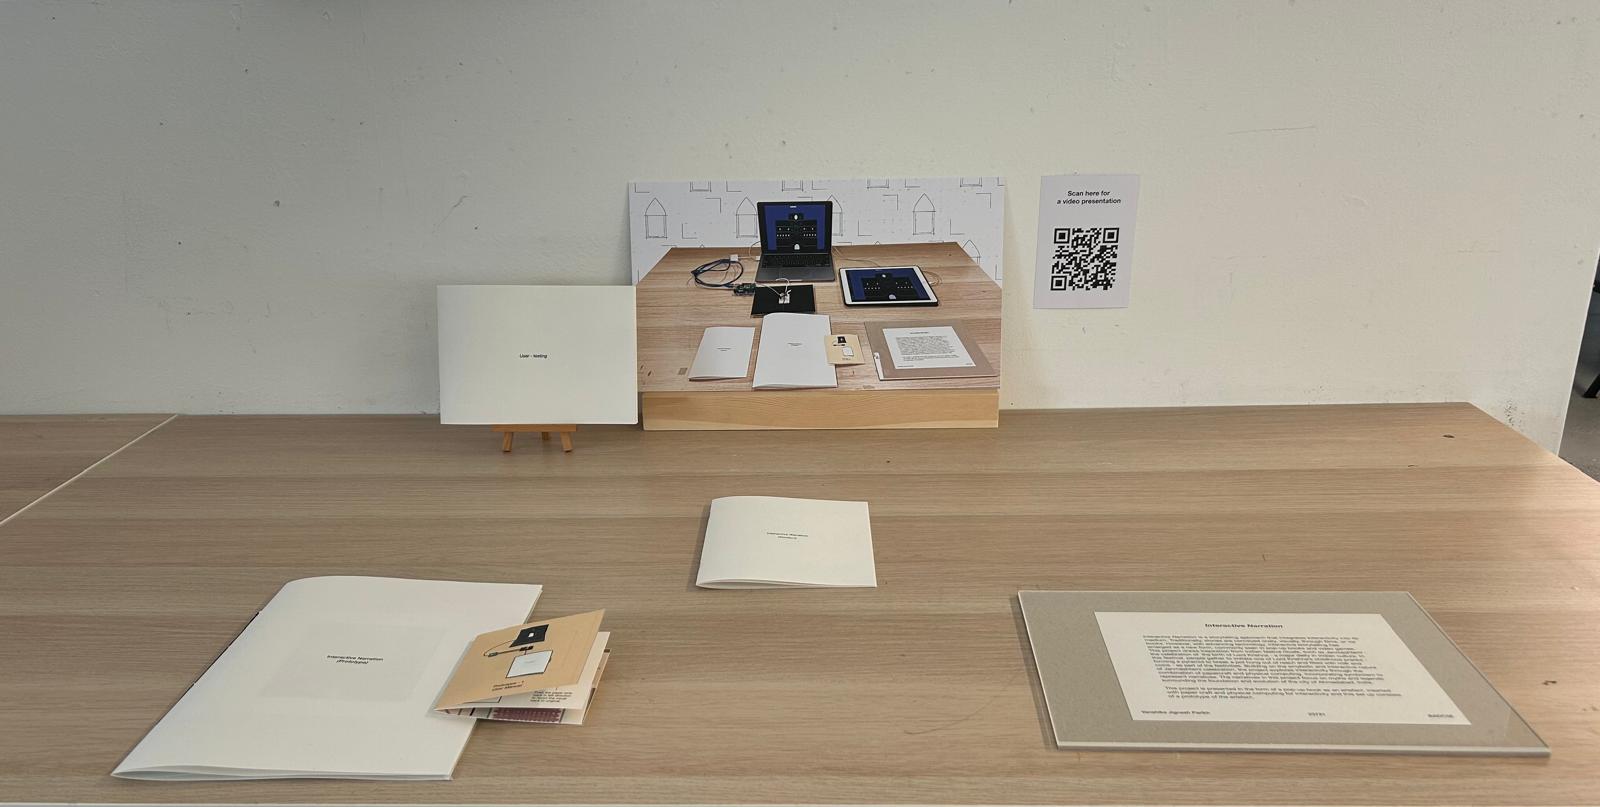
Table set-up
I put an extra device on the table thinking it could offer a more comfortable view but it ended up causing confusions. I had also stuck the mini-bread board holding the potentiometer on a black art-card and then put another paper above to cover the taped area. I wanted the set-up to look clean.
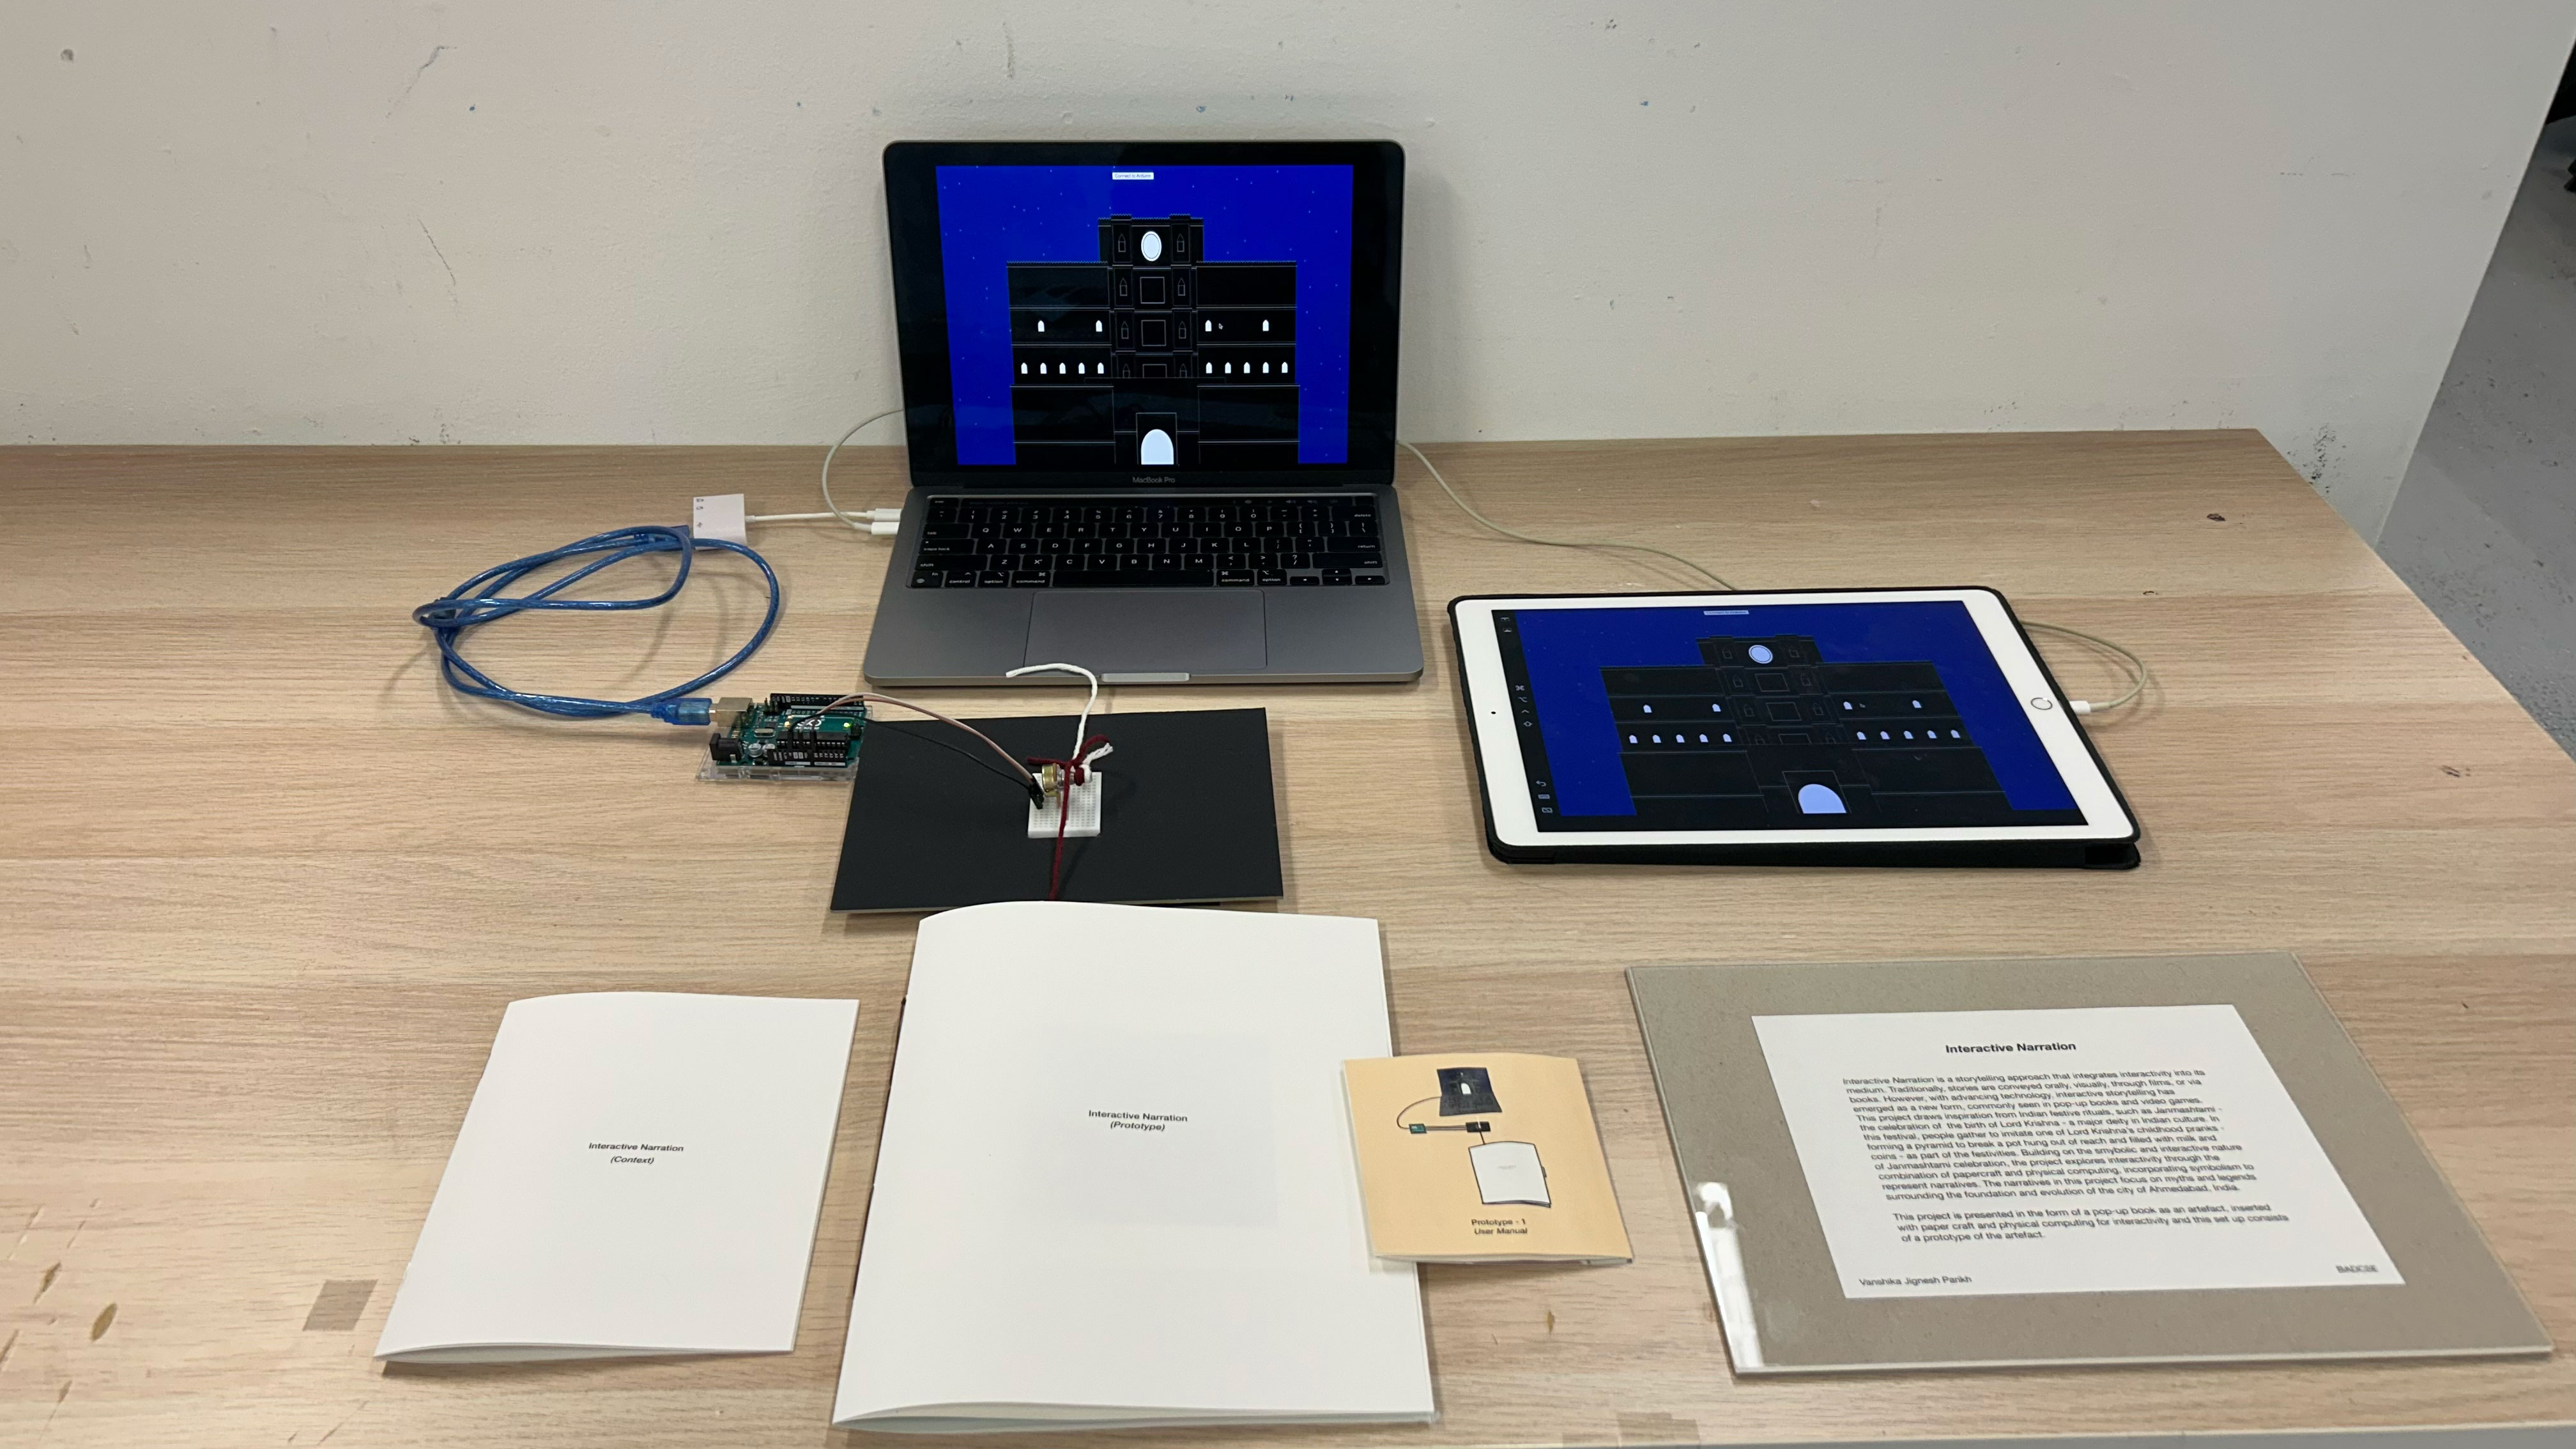
During user testing there were a few things I realised. The context booklet and the user-manual was not enough to clearly communicate what the set up really is. When Boon Cheong was testing I actually presented everything to him and he said "this is an interesting way to tell a story". I just had this idea - to explore adding audio input in my artefact. So for now, I decided to make a video presentation and provide a QR code on the set up that provides access to the videopresentation. I also uploaded it in the prototype website here.
Video presentation
Final Setup
Reflection on Semester-1
The semester started a bit difficult but I did end up finding and developing a concept that interests me. I am happy with the progress that I made in terms of presentation, trying to explore different possibilites for one idea and for developing a habit of reading. I didn't use to like reading but throughout the semster that changed. As for the prototype, I don't feel completely satisfied. I am satisfied with what it has progressed to, but maybe because I didn't focus much on the visual aesthetics I don't feel completely satsfied at the end. But overall, I feel quite happy with the research topic and the project idea. I have enjoyed the set-up of the physical prototype quite a lot.
For further development, I wish to improve on my planning and time management skils. As for the dissertation and graduation project, I plan on going to a field trip once I go back to India in December, and a workshop for its traditional art form and block printing. And I also want to continue experimenting with Arduino. Further I want to explore with light sensors, audio speakers and screens. I also want to improve with the layout of my CPJ. I sturggled quite a bit with it but its the most feasible option for CPJ for videos. I did manage to figure it out a bit, but in terms of styling I still struggled. I think once I have a visual aesthetic figured out for my project I will be able to have visions of a visual aesthetic and layout for my presentations and CPJ.